
If you’re a true coffee lover, you know that nothing beats a steaming mug of coffee to get your day going.
If you have a Keurig coffee maker, you know how handy it is to get hot coffee whenever you want it.
Did you know that mineral deposits in the water can accumulate in your Keurig and diminish the flavor of your coffee over time?
Descaling helps with this.
Descaling is the process of eliminating mineral deposits from your Keurig coffee maker.
It’s important for the health of your machine and the taste of your coffee that you follow this procedure regularly.
If you don’t descale your Keurig often, you can end up with sluggish brewing, weaker coffee, or even damage to your machine.
We’ll cover the basics of descaling your Keurig here, including:
Table of Contents
When you’re done reading this, you’ll know everything there is to know about maintaining your Keurig and getting the most out of your coffee.
Let’s dive in right now!
II. Gather Your Supplies – How to descale a Keurig coffee maker
It’s crucial to have all the necessary tools and materials on hand before starting the descaling procedure.
Here is a rundown of the materials you’ll require, along with an explanation of how each one will be utilized during the descaling procedure.
- Descaling Solution: A descaling solution is a specialized cleaner for your Keurig that dissolves and removes mineral deposits. To avoid damaging your Keurig machine or leaving a residue that compromises the flavor of your coffee, it’s vital that you use a solution made expressly for use with Keurig brewers.
- Water: For the descaling procedure, you’ll need a lot of water. To keep your Keurig machine from being clogged with minerals, use only filtered or distilled water.
- Empty Container: To collect the descaling solution and water, you’ll need a container that can hold at least 12 ounces of liquid.
- Clean Cloth or Towel: Once you’ve descaled your Keurig, you’ll want to wipe down the outside with a fresh cloth or towel.
- Sink: During this operation, you’ll need access to a washbasin in order to fill and empty the water reservoir.
You’re ready to descale after gathering your supplies. Before you start, read the instructions on your descaling solution carefully.
You’re one step closer to a great cup of coffee with your supplies.
III. Prepare Your Keurig Coffee Maker – How to descale a Keurig coffee maker
It’s important to get your Keurig machine ready for descaling before diving in. Here is what you have to do:
- Turn Off Your Keurig: The Keurig machine must be switched off and unplugged from the power source before any other steps can be taken. Doing so will increase the likelihood of your staying safe while servicing the machine.
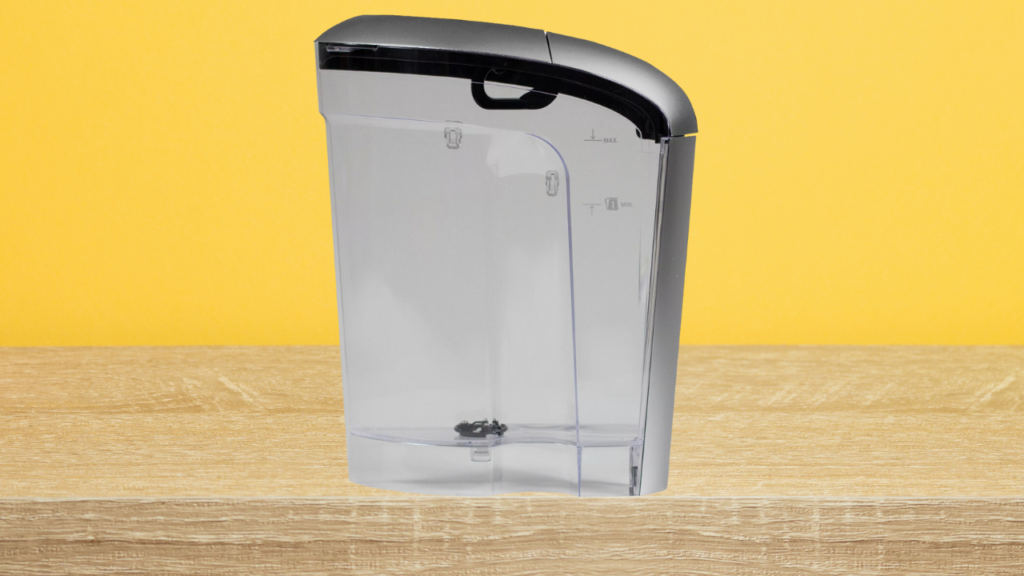
- Empty the Water Reservoir: The water tank must be emptied fully. The Keurig’s “drain” button or a pitcher can be used to empty the water reservoir. This is a crucial pre-descaling procedure for stopping leaks and messes.
- Remove Any Pods or Filters: Be sure to take off any pods or filters from the machine before descaling it. This will keep the descaling solution or water from getting into the pods or filters, which could compromise the coffee’s flavor.
- Place the Empty Container: Put the empty container on the drip tray under the spout to collect the descaling solution and water as it drips out.
IV. Mix and Add the Descaling Solution – How to Descale a Keurig coffee maker
Follow the directions on the descaling solution to mix it. Usually, you’ll need to combine the solution with a certain amount of water.
Once you’ve mixed the solution, you can put it in your Keurig machine.
The steps are as follows:
- Pour the Solution: Gently add the descaling solution to Keurig’s water tank. Fill the reservoir all the way to the top, as shown by the line.
- Add Water: Fill the reservoir all the way up to the “max fill” line with water.
- Stir: The water and solution in the reservoir will need to be mixed together, so use a spoon or something similar to do so. This will help make sure that the solution is spread out evenly throughout the machine.
Now that you’ve added the descaling solution to your Keurig machine, it’s time to move on to the next step.
V. Run the Descaling Cycle – How to Descale a Keurig coffee maker
To run the descaling cycle on your Keurig machine, follow these steps:
- Start the Cycle: Place the empty container on the drip tray beneath the dispensing spout. Then, press the “brew” button on your Keurig to start the descaling cycle.
- Discard the Liquid: As the machine begins to cycle the water and solution mixture, the liquid will flow into the container you placed on the drip tray. Once the cycle is complete, discard the liquid.
- Rinse the Reservoir: Rinse the water reservoir thoroughly with clean water. Make sure to remove any leftover descaling solution.
- Run a Rinse Cycle: Fill the water reservoir with clean water and run a rinse cycle on the machine to remove any remaining traces of the descaling solution.
VI. Rinse and Repeat – How to Descale a Keurig coffee maker
After the initial descaling cycle is over, it is necessary to rinse the machine and run it again to remove any remaining descaling solution. Here is how to do it:
- Rinse the Reservoir: Rinse the water reservoir thoroughly with clean water to remove any remaining descaling solution.
- Run Another Cycle: Fill the water reservoir with clean water and run another cycle on the machine to rinse out any remaining solution.
By repeating the descaling process, you’ll ensure that your Keurig machine is clean and ready to use.
VII. Final Steps – How to Descale a Keurig coffee maker
To complete the descaling process, follow these final steps:
- Wipe the Machine: Use a clean cloth or towel to wipe down the exterior of the Keurig machine.
- Clean the Accessories: Clean any accessories, such as the drip tray and water reservoir, in warm soapy water.
- Maintain Your Keurig: To keep your Keurig machine clean and functioning properly, it’s important to clean it regularly. Refer to your Keurig’s instruction manual for recommended cleaning intervals.
VIII. Conclusion – How to Descale a Keurig coffee maker
Congratulations! Now that you’ve descaled your Keurig coffee machine, you can rest assured that it will continue to produce high-quality beverages time and time again.
Your dedication to improving the quality of your coffee by following these instructions demonstrates that you are a coffee lover.
With this newfound knowledge of how to descale your Keurig machine, you should make it a habit to clean and maintain it often.
Not only will this ensure that your coffee always tastes fantastic, but it will also help your machine last for many more cups.
So unwind with a cup of coffee made in your spotless and regularly serviced Keurig.
Also, feel free to forward this article to any of your coffee-loving pals who could use some pointers on descale.
A toast to excellent coffee!
Click here if you want to learn how to clean your coffee maker with Vinegar.